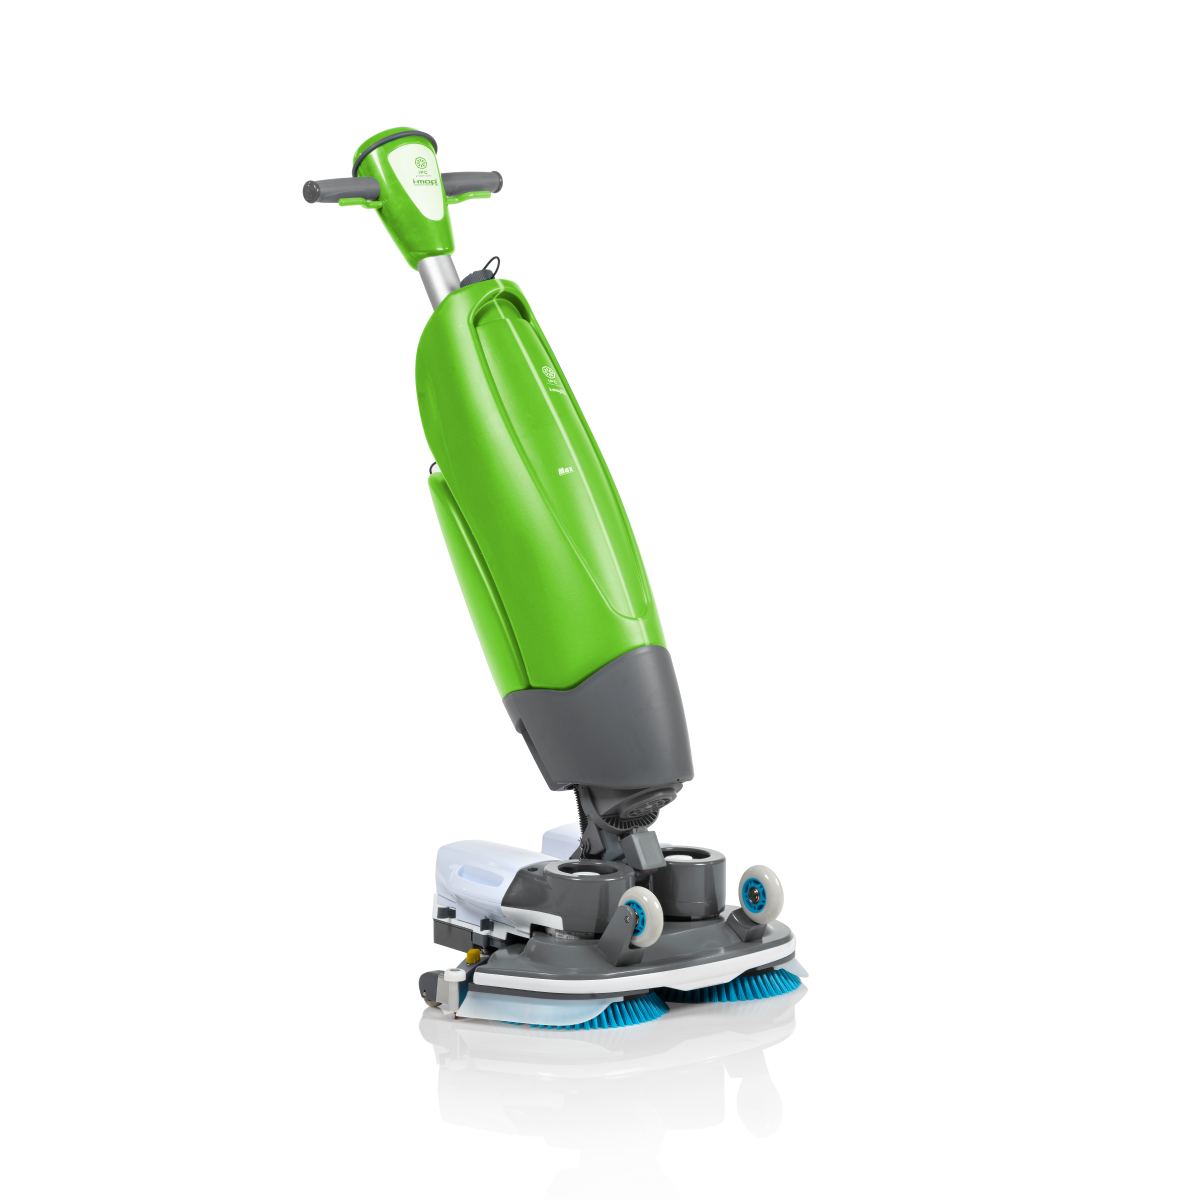
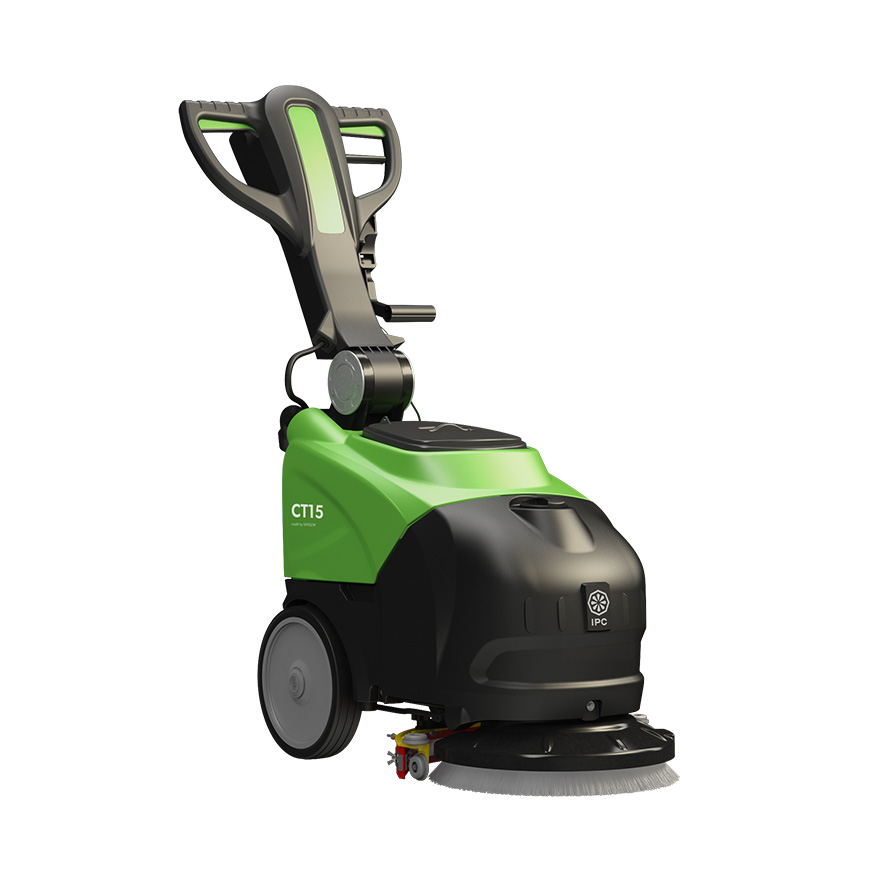
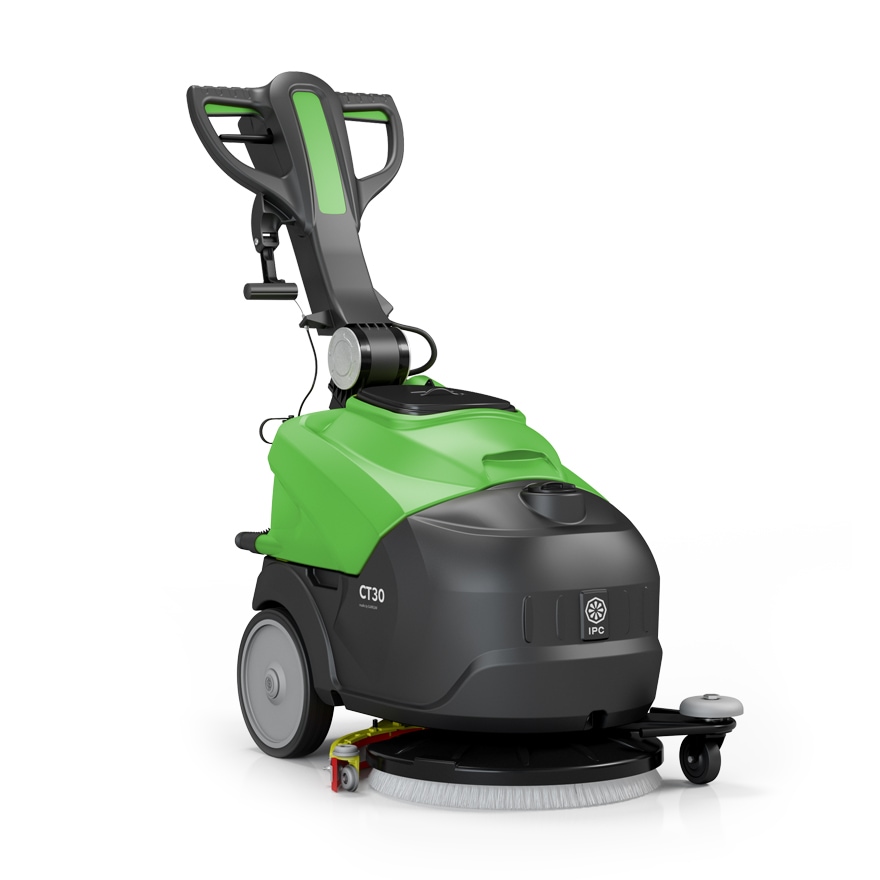
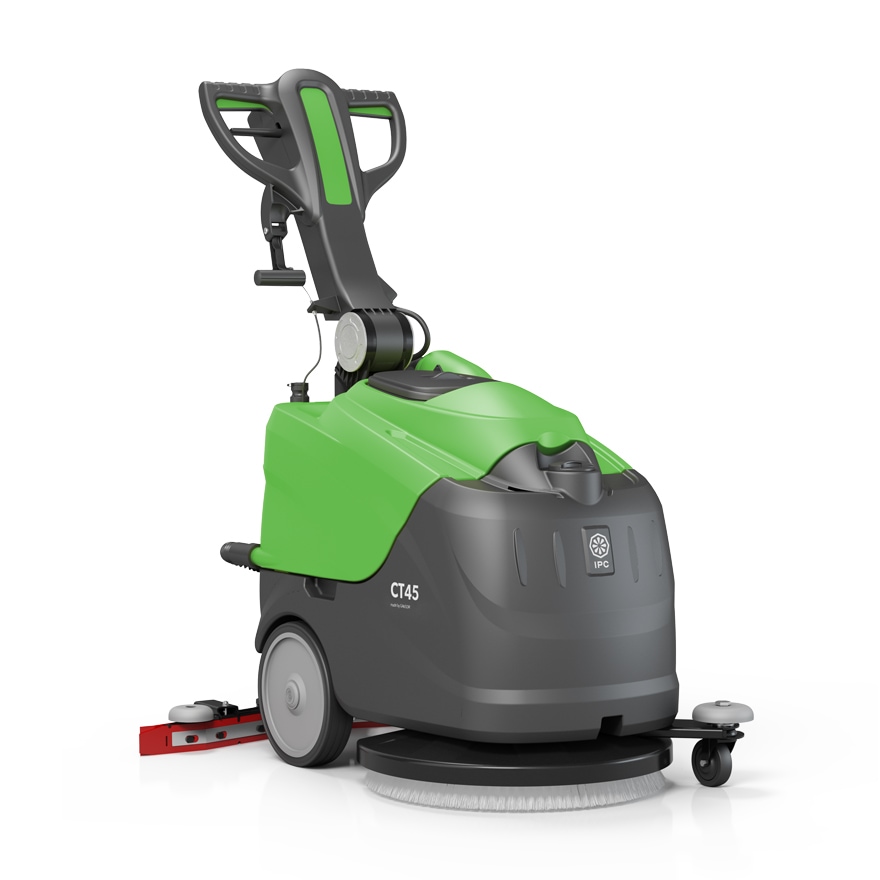
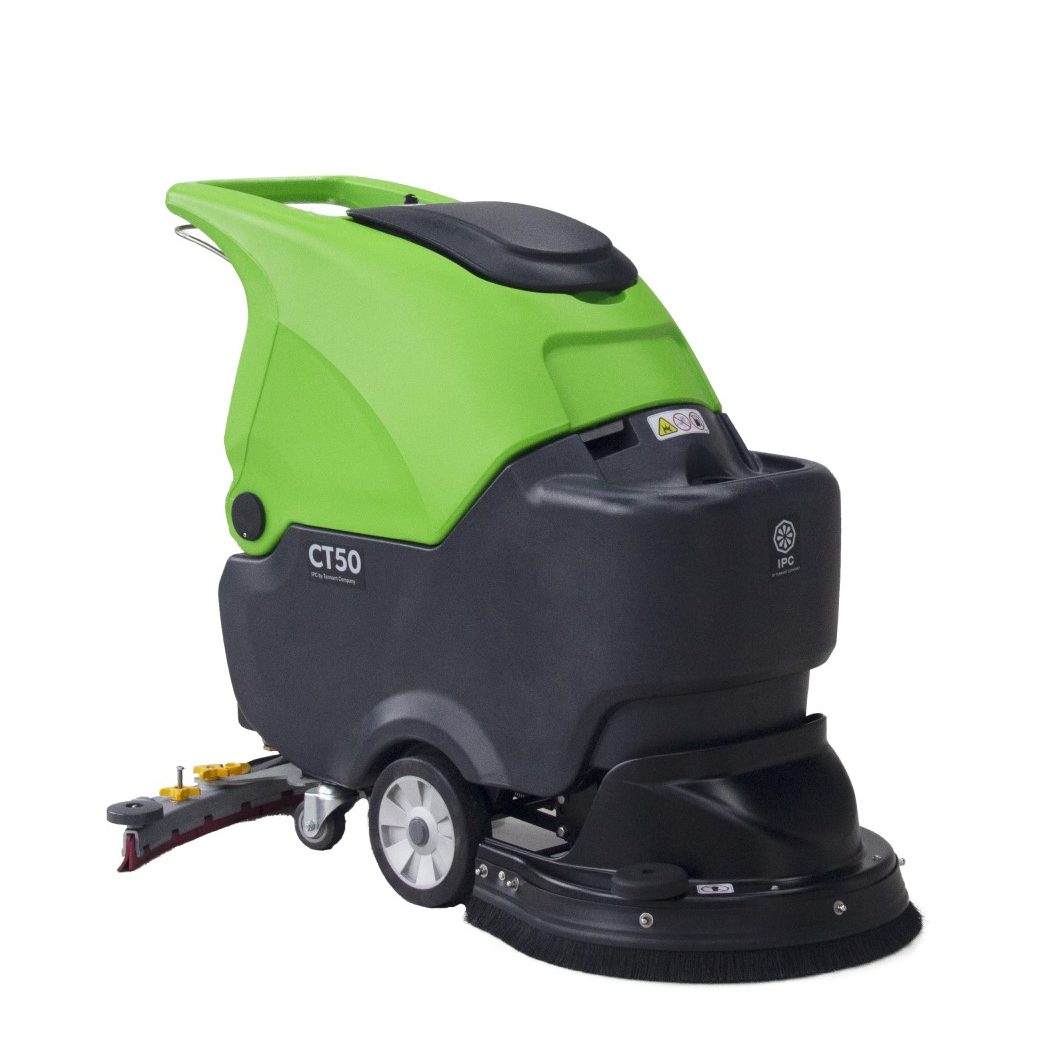
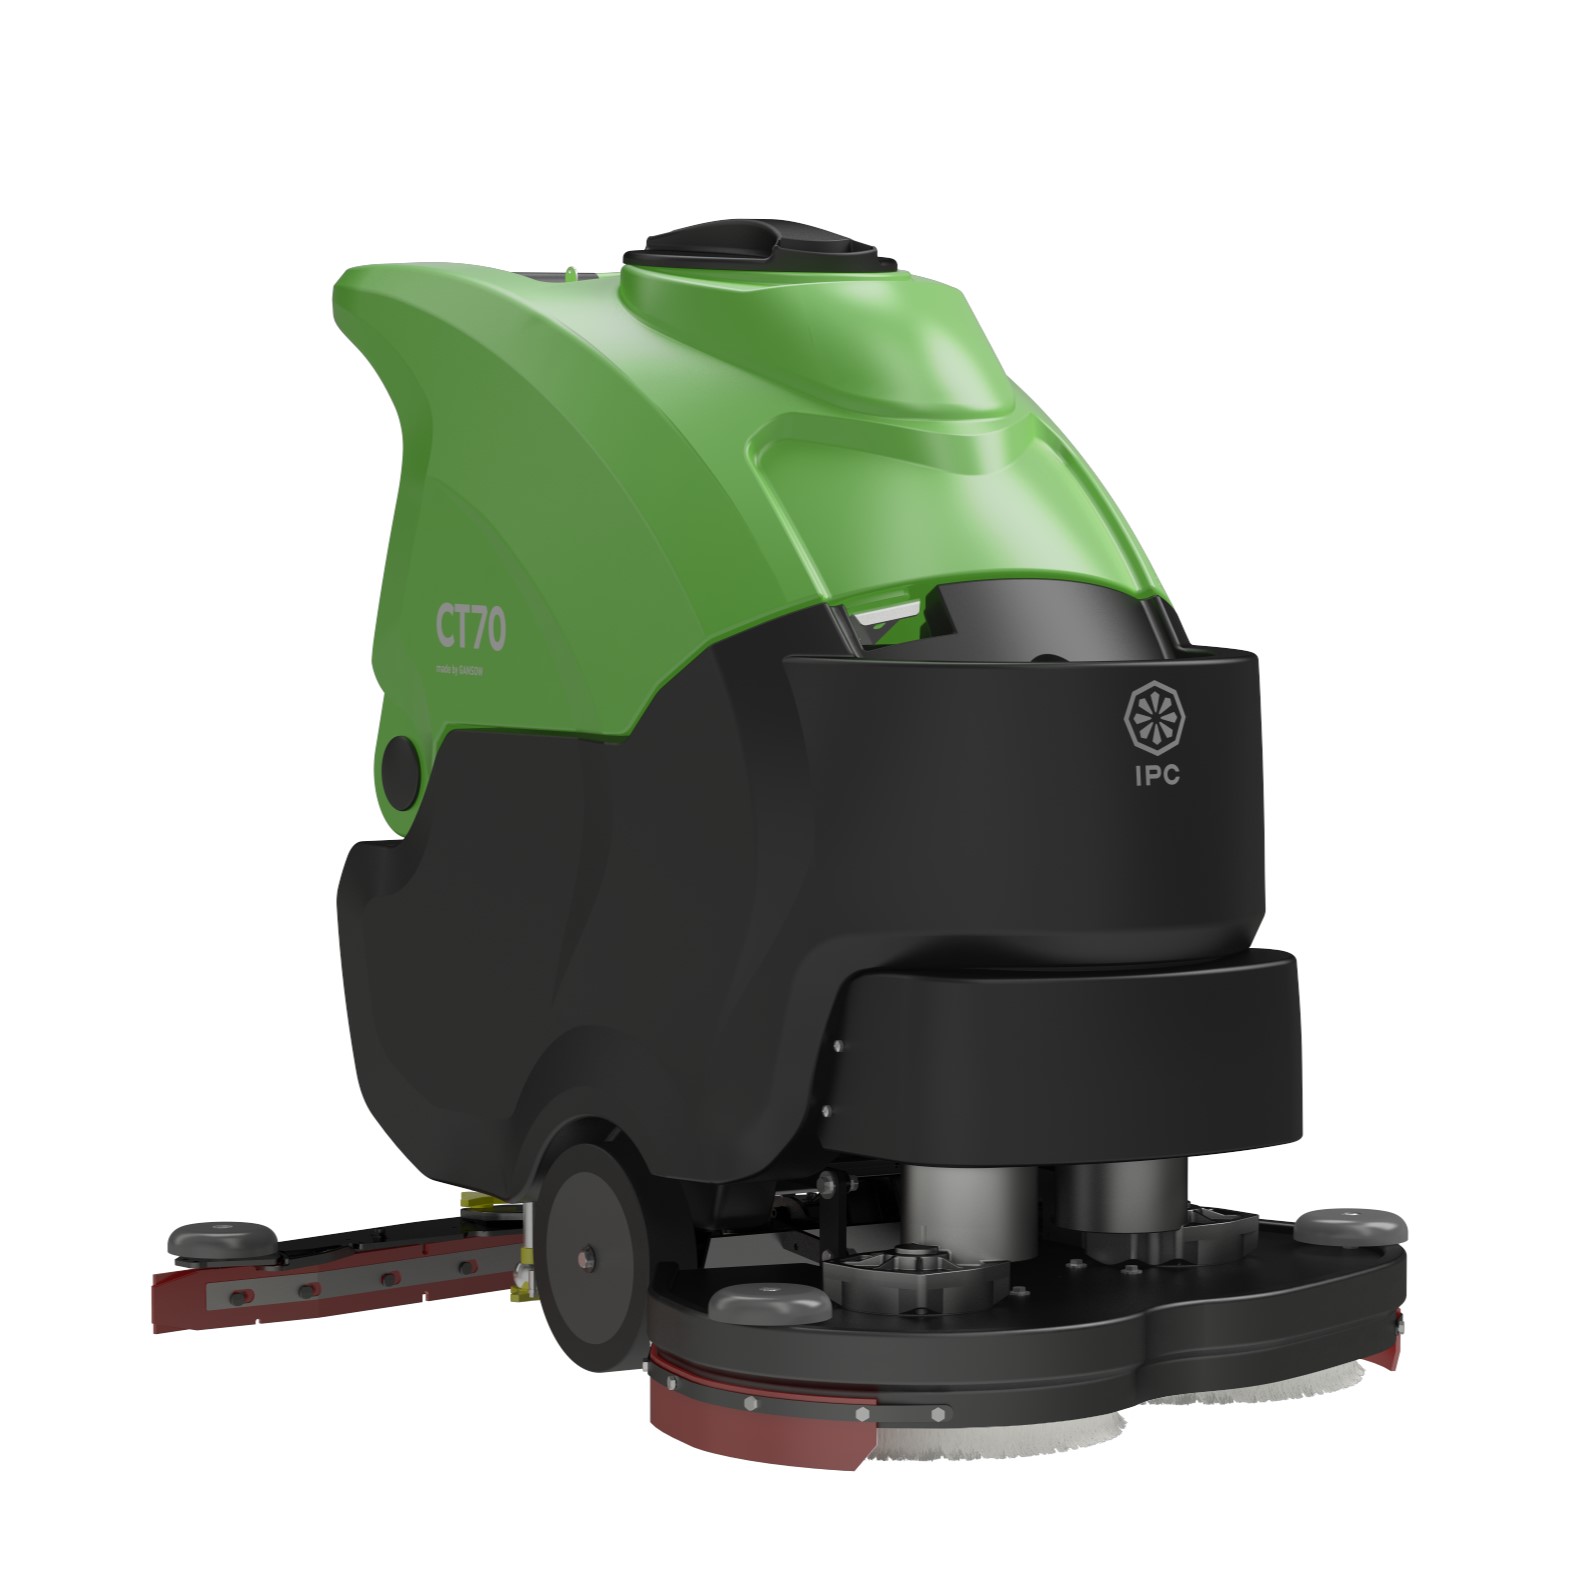
IPC floor care equipment is engineered for straightforward operation and easy routine maintenance. Here are some maintenance tips, instruction, and troubleshooting for your IPC floor scrubber.
MAINTENANCE – GENERAL RULES
Performing regular maintenance according to the Manufacturer’s instructions improves performance and extends the working life of the machine.
When cleaning the machine, adhere to the following:
- avoid the use of high pressure washers. Water could penetrate the electrical compartment or motors leading to damage or the risk of short circuit;
- do not use steam to avoid the heat warping plastic parts;
- do not use hydrocarbons or solvents as they could damage the cowling and rubber parts.
Routine Maintenance
Float switch and detergent tank filter: cleaning
- Remove the dirty water tank cap and clean the float switch (fig. I, ref. 1). Make sure it runs freely on the pin.
- clean the detergent tank filter (fig. N) by unscrewing the cap and extracting the filter assembly.
GENERAL MAINTENANCE
After each day’s work, proceed as follows:
- disconnect the machine from the power supply;
- empty the dirty water tank and clean if necessary;
- clean the squeegee blades and check for wear. If necessary, replace.
- check that the suction hole in the squeegee is not blocked, if necessary remove encrusted dirt;
- Battery model: charge the batteries according to the procedure described;
Weekly operations
- clean the dirty water tank float switch and make sure it is working correctly;
- clean the suction hose;
clean the dirty water tank and detergent tank;
- Battery model: check the level of battery electrolyte and top up with distilled water if necessary;
REPLACING SQUEEGEE BLADES
The squeegee blades collect the film of water and detergent from the floor and prepare the way for perfect drying. With time, the constant rubbing makes the edge of the blade in contact with the floor rounded and cracked, reducing the drying efficiency and requiring it to be replaced.
Turning or replacing the blades:
Parabolic squeegee
- lower the squeegee by means of the squeegee lever (fig. D, ref. 2);
- tip the machine backwards and rest the handle on the floor.
- remove the suction hose sleeve (fig. E, ref. 4) from the squeegee;
- remove the squeegee (fig. E ref. 1) from its mount by completely unscrewing the two knobs (fig. E ref.2)
- remove the blade retainers and blades by unscrewing the knobs (fig. E, ref. 5);
- reuse the same blade by reversing the edge in contact with the floor until all four edges are worn out, or
replace with a new blade, fitting it onto the screws on the body of the squeegee;
- replace the two blade retainers and the blades and screw up the knobs unscrewed previously;
- replace the squeegee in its support following the instructions in the section “Mounting and adjusting the
squeegee”.
“V” squeegee
- lower the squeegee by means of the squeegee lever (fig. D, ref. 2);
- remove the suction hose sleeve (fig. E, ref. 8) from the squeegee;
- remove the squeegee from its mount (fig. E ref. 6) by completely unscrewing the two knobs (fig. E ref.7)
- remove the blade pressing devices by opening the catch (Fig. E, ref. 11)
- reuse the same blade by reversing the edge in contact with the floor until all four edges are worn out, or
replace with a new blade, fitting it onto the screws on the body of the squeegee;
- reposition the two blade pressing devices and the blades, closing the catch.;
- replace the squeegee in its support following the instructions in the section “Mounting and adjusting the
squeegee”.
FUSE REPLACEMENT (battery models)
The fuses protecting the electrical circuit are located in the battery compartment.
Fuse table: for the complete fuse table, see the spare parts catalogue.
FUSE REPLACEMENT (cable models)
The fuses protecting the electrical components are on the electrical components box.
Fuse table: for the complete fuse table, see the spare parts catalogue.
IMPORTANT: Never use a fuse with a higher amperage than specified. If a fuse continues to blow, the fault in the wiring, boards (if present) or motors must be identified and repaired.
Have the machine checked by qualified personnel.